No better way to kick off the "Countdown to September" than jumping right in with trailcams! Independance day has come and gone, and if you haven't put out your trailcams, then you should think about getting them set now.
Note: With state game officials changing rules about game cam use, you'll want to review your state's laws before gearing up.
Pick a remote location.
Every year I listen to a buddy who vents about how someone stole his trail camera. Some camera thieves have gone as far as to fall the tree that the protective lock box was secured to! I like to put my cams well away from popular trails in areas that are pretty difficult to access. I look for micro habitats that have food, cover, and water where elk don't have to travel very far from. These places are tucked away from more "likely looking" elk places. I'd also recommend using a couple screw in treestand steps to climb up and get your cam out of reach, and out of the normal line of eyesight to discourage people from tampering with your set up.
Point your camera North.
High quality trail camera pictures are sometimes hard to come by, even with the best quality cameras out there. Good lighting is your best friend, so ALWAYS find a tree that allows you to capture the scene you're looking for, so place the camera facing North. By pointing your camera North, you won't risk having the picture blown out by sun flare, and the lighting will look better as the sun will shine from the southern hemisphere while traveling East to West, illuminating your subjects.
Buy the BEST Batteries.
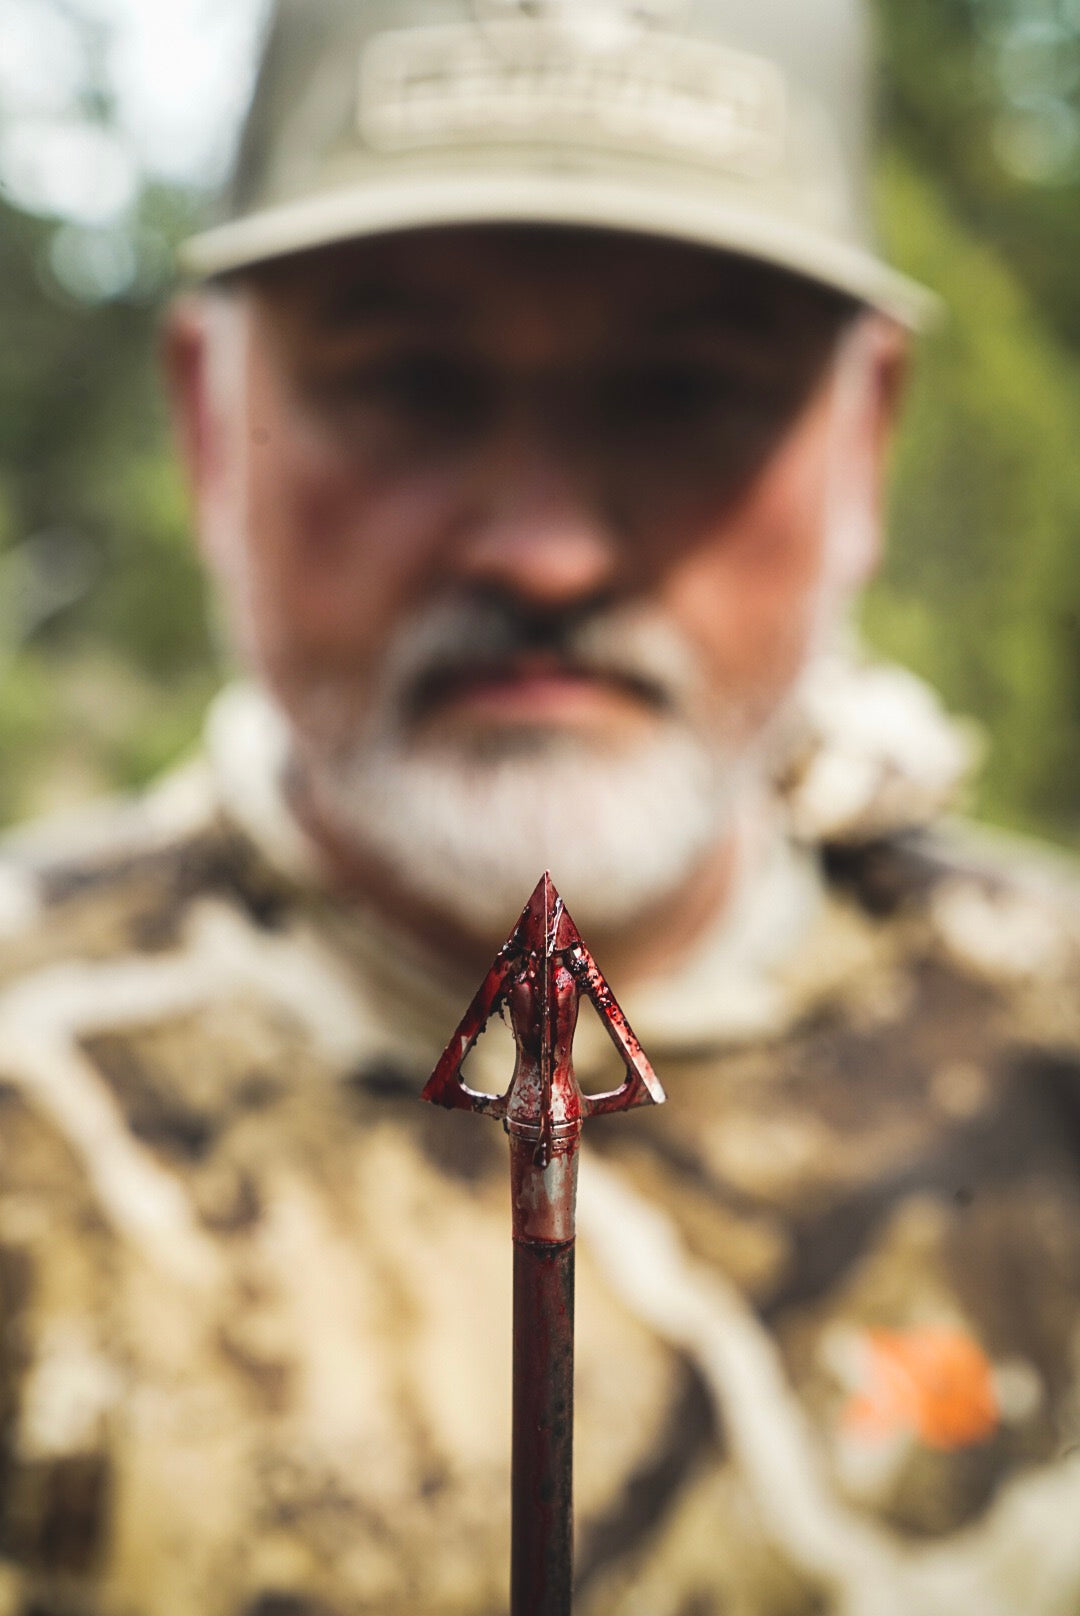
I've never been so let down with my trail cam, than in my own back yard! It was November and the whitetail rut was in full swing. I had been seeing buck tracks in the fresh snow from his nighttime activities and devised a delicious plan of capturing some epic video footage. I set my camera up, pointed toward a lifesize buck decoy with the intention that the buck would come by in the night and fight it. With the cam set I felt like a 5 year old on Christmas Eve! This was going to be AWESOME! Well, the next morning I could see my trap was sprung. The decoy was knocked off its feet. Big gouges in the ground told the story of how the buck saw his rival and attacked my plastic buck. Smiling to myself I figured I must be the smartest person who had ever set a trail camera. I cracked open the cam to find the batteries were dead. No problem. Probably got so many videos it drained tha batteries...... Wrong! The batteries died long before the buck came by. Not one single video was to be had thanks to the frigid weather. That huge pack of batteries I bought at the local "members only" store had failed miserably. That's when I found out about Lithium batteries by Energizer. They are a little spendy but man, they sure do last. I've had them last all winter in low traffic areas and well into May on higher traffic spots. Get on Amazon to by them in bulk, and then thank me later. No more prematurely dead batteries.
Trim up the site.
There's nothing that can screw up your camera set more than dead batteries, except for maybe tree limbs, brush, and tall grass that sets off your cam everytime the wind starts blowing. When the wind picks up it will move the tree limbs and you'll get a few thousand pictures of "the wind"! I love taking a little time and using a machete to trim anything that will give my cameras a false trigger. By doing this hack you will save a ton of memory card space with very few misfires.
Not too close!
Make sure you experiment with your camera's field of view for the best captures. If you set it too close to where your subjects appear, you may only get bits and pieces of them. I like to have the cam set back no closer than 10 yards from the target. I also want to have the camera positioned to where the elk will trigger it, and stay in frame for multiple pics, or 30 seconds of video. Set your camera looking down a trail for some distance, to capture the comings and goings. Don't set it to take broadside shots of passers by, as the trigger may only catch pictures of rumps. This will all take a little trial and error with you setting the camera, walking through the spot where the elk appear triggering the cam, then reviewing the footage. It can take some extra effort to perfect, but you will pat yourself on the back for doing a good job when you see the end result.
Double Trouble!
Setting one camera for photos and another for video at the same location will take your game to the next level. Place the two cameras for different points of view- focusing the cam set on still photos where elk may stop at a wallow or mineral lick. Set the video mode camera on the access trail to said water, minerals, etc. and you might be surprised by the shots one cam picks up but the other misses.
Camera settings.
I need my camera to collect video and images in the highest quality format that the camera is capable of, as it always lends itself to better viewing results. Review your camera's owner's manual and buy the largest GB memory card that is compatible (most are 32GB). Set the photo trigger at maximum distance (be sure you clear limbs and brush within the cam's specified range. Set the trigger between shots at the shortest time delay, as you don't want to miss a single shot when there is action in frame. DON'T FORGET TO SET THE DATE AND TIME! It's so much easier to review the shots and understand what is going on if the time and date are correct.
Trail cameras can be fun for the whole family. There's so much to learn from critters when we aren't around. The golden rule always applies, so please remember trail cam etiquette when you find someone else's camera, and leave it undisturbed. We're all in this together.